Be your own interior designer
Whether you’re planning a room from scratch or freshening up an existing scheme, it can be hard to know where to start.
Creating a successful space involves a complex blend of practical and aesthetic considerations. As well as the nitty gritty of wiring and plumbing, there’s wallpaper, paint colours and fabric to select, window treatments to decide on, storage to incorporate, furniture to choose and finishing touches to arrange. How can you ensure that you do it correctly?
Never fear: it’s simply a question of taking things step by step, using a straightforward, logical approach. Careful planning is invaluable in helping firm up your ideas, work out your budget and timetable and, above all, avoid expensive mistakes.
First comes space planning. Measure your room accurately and draw a plan to scale on graph paper, marking in windows, doors, fireplaces, fitted cupboards, pipes, radiators, plug sockets, light fittings and so on. Consider the room’s size and shape, and its architectural style. Will they affect the way in which you decorate? Are there special considerations, such as lack of space or light, or an important original feature? At this stage, consider whether it would be helpful to move a wall, pipe or radiator, enlarge a window, hang the door the other way around or add extra plug sockets or light switches. Perhaps you can conceal wiring or pipework, or build in some extra storage? Once you have gone through all the options – consulting a structural engineer if your changes are major ones – you can draw up a final plan.
Next, plan the positions of major items of furniture. On a separate sheet of graph paper, sketch the approximate shapes of your furnishings, as if you were looking at them from above, using the same scale as your room plan. Then simply cut them out, place them on your master plan and assess how well they fit in to the space, ensuring that you allow enough activity room between and around them. Think about who uses the room, when and how. Move your ‘furniture’ around as necessary and, eventually, the optimum arrangement will become apparent.
To complement the floorplan and ensure that all the decorative elements of a room work together, professional designers create a ‘sample board’: a visual memo of all the different pieces that go towards making up the room.
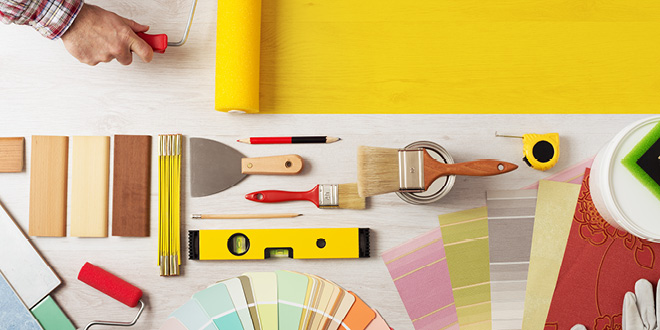
Before you start, you’ll need to find some images of your proposed furniture, flooring, lighting and accessories, as well as swatches of fabric, wallpaper and paint. Try to keep the samples in proportion to the size they’ll be in real life. You can also include real items (or parts of them) such as tie-backs and trims, rope or timber. Your sample board can be highly representative or more of a suggestion of general colours and styles.
Then, take a large piece of neutral-coloured card as a base, and arrange the images or swatches on it. It helps if you place the samples roughly in accordance with where they will be in the room. With all the ingredients together, you’ll have a really effective overview of how colours, patterns, shapes and textures work together and can assess the overall effect.
Related Stories